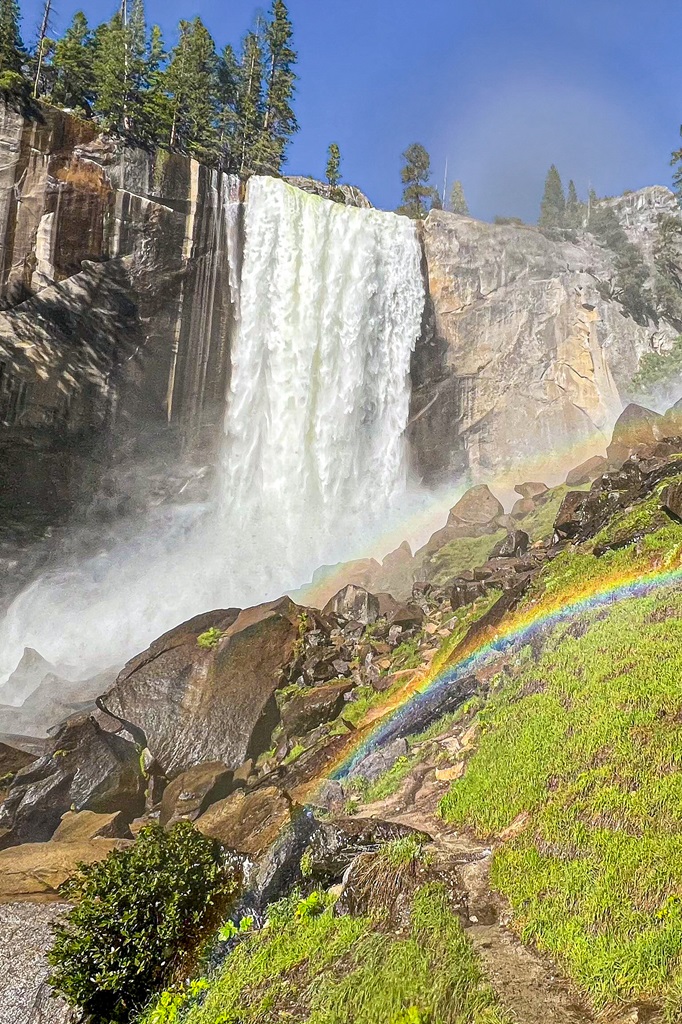
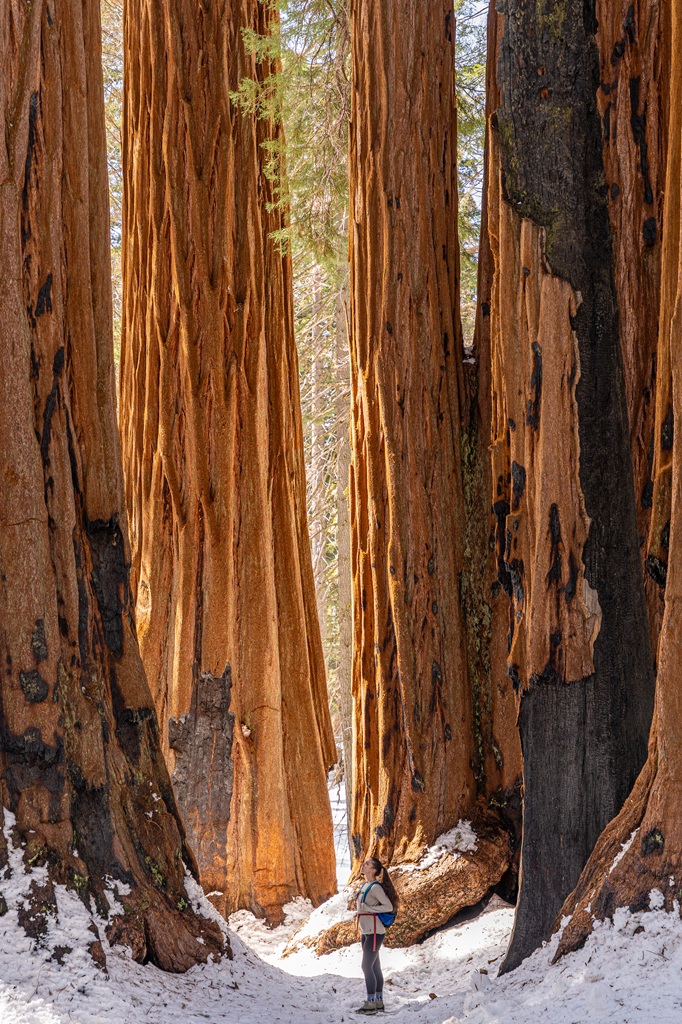
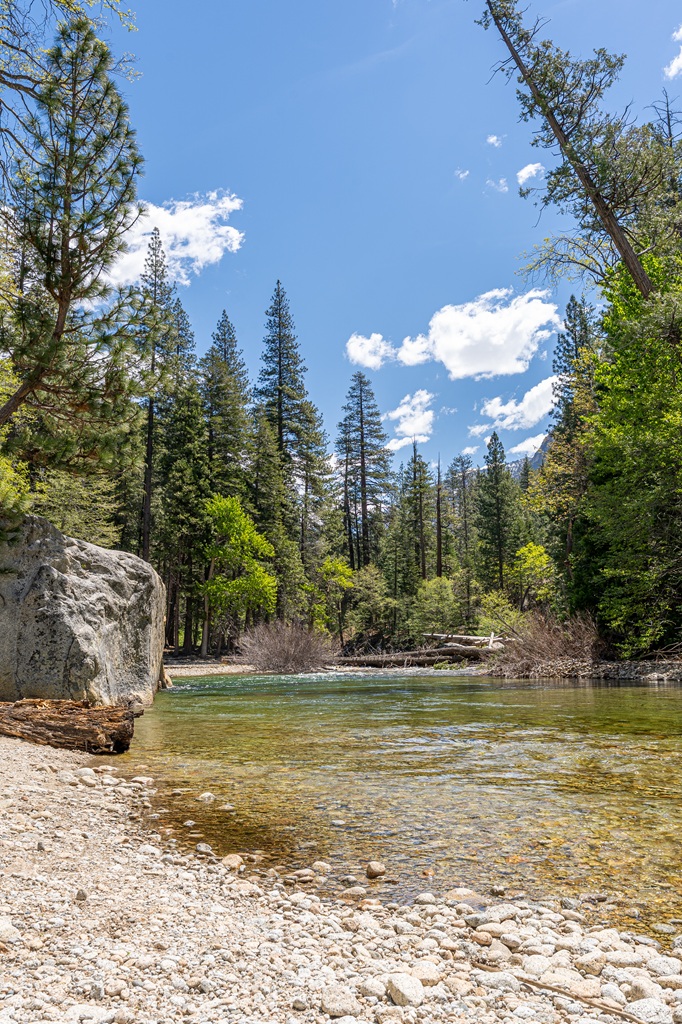
I cannot even begin to express how much I love hiking to Gaylor Lakes in Yosemite National Park. It truly is one of my absolute favorite spots in the world! 😌
It’s always so peaceful. Just the sound of birds chirping, chipmunks and pikas running through the grass, and the little waves from the lake hitting the shore on a windy day.
Gaylor Lakes consists of three bodies of water – Lower, Middle, and Upper Gaylor Lakes. The most popular hiking route takes you to Middle and Upper Gaylor Lakes as well as the Great Sierra Mine.
Be prepared for the elevation! You’ll be starting at 9,950 feet and ending at around 11,000 feet. The altitude makes the hike feel so much harder, especially if you’re not used to hiking at that elevation. 😮💨
But if you’re able, I highly recommend this hike. It’s one of the most beautiful spots I’ve ever seen. With that being said, please respect it. Follow Leave No Trace – don’t leave trash, don’t disturb wildlife, don’t disturb historical structures, and avoid creating social trails. 🙏
Read my complete guide to learn everything you need to know about hiking to Gaylor Lakes in Yosemite National Park!
Affiliate Disclaimer: Some links on this page may be affiliate links, meaning I may earn a small commission at no extra cost to you. As an Amazon Associate, I earn from qualifying purchases. Thanks for supporting the blog! 🫶
- Gaylor Lakes Trail Stats and Map
- Gaylor Lakes Trailhead and Parking
- Best Time to Hike the Gaylor Lakes Trail
- Hiking the Gaylor Lakes Trail: Step-by-Step Directions
- Hiking to Lower Gaylor Lake in Yosemite National Park
- Tips for Hiking Gaylor Lakes in Yosemite National Park
- What to Bring to Yosemite National Park
- Conclusion
Yosemite National Park Trip Info
📍 Location: California, USA
🗓️ Best Time to Visit: Year-round but most accessible time is May-October
🏞️ Ideal Trip Length: 3-5 days
✈️ Closest Airport: Fresno Yosemite International (2.5 hours away from Yosemite Valley)
🏨 Where to Stay: Yosemite Valley Lodge and Curry Village in Yosemite Valley, Tenaya at Yosemite in Fish Camp, Yosemite View Lodge in El Portal, Best Western Plus Yosemite Gateway Inn in Oakhurst, or Rush Creek Lodge in Groveland
🚙 Getting Around: Rent a vehicle from rentalcars.com or discovercars.com
💵 Entrance Fee: $35 per vehicle (7 days) or buy an America the Beautiful Pass (covers the entrance fee for 1 year). There are new non-resident fees – learn more here
🤩 Check out my Yosemite National Park Guide for more travel, hiking, and seasonal guides
Gaylor Lakes Trail Stats and Map
There are several different ways you can hike the Gaylor Lakes Trail. Like I mentioned above, the most popular route takes you to Middle Gaylor Lake, Upper Gaylor Lake, and the Great Sierra Mine.
I will be focusing on this route, but I will also provide details about hiking to Lower Gaylor Lake later on.
If you’re planning to hike the Gaylor Lakes Trail, you have three options:
- Middle Gaylor Lake (2.5 miles / 4 km roundtrip)
- Upper Gaylor Lake (3 miles / 4.8 km roundtrip)
- Great Sierra Mine (3.8 miles / 6.1 km roundtrip)
Basically, you can choose to go as far as you’d like. Just simply follow the same trail to reach each spot. Most people hike to Middle Gaylor Lake and turn back. You won’t see too many people at Upper Gaylor Lake and especially not at the Great Sierra Mine.
Gaylor Lakes is one of my favorite alpine lake hikes in Yosemite, but there are more worth exploring! Check out Cathedral Lakes, Spillway Lake via Mono Pass Trail, and May Lake. These are all located along Tioga Road.
Ok, let’s get discuss the Gaylor Lakes Trail in Yosemite National Park! 👇
Gaylor Lakes Trail Stats
Length: 3.8 miles (6.1 km) roundtrip
Elevation Gain: 1,220 feet
Difficulty: Challenging
Hiking Time: 2.5 to 3 hours
Route Type: Out-and-back
Pet-friendly? No
Wheelchair Accessible? No
Highlights: Middle Gaylor Lake, Upper Gaylor Lake, and the Great Sierra Mine
Gaylor Lakes Trail Map
Yosemite National Park Entrance Fee and Reservations
Entrance to Yosemite National Park costs $35 per vehicle for a 3-day pass. However, if you have the America the Beautiful Annual Pass, your entry is free!
For those who love exploring national parks, investing in the Annual Pass is a smart choice. At just $80, for U.S. residents, it grants you access to over 2,000 federal recreation sites across the country!
FEE UPDATES! Beginning January 1, 2026, non-U.S. residents (without an annual pass) will pay a $100 per person in addition to the standard entrance fee. The Annual Pass for non-US residents will cost $250.
Reservations are not required this year. (updated July 8, 2026).
✨ Planning to explore Tioga Road but not sure where to begin?
I created a detailed guide that has everything you need to know about visiting Tuolumne Meadows and Tioga Pass! The guide includes the best time to visit, how to get there, best stops along Tioga Road, top hiking trails, and essential tips.
Also, I created one-day itineraries tailored to both family-friendly experiences and adventurous explorers! And you will find a list of the best camping and lodging options in and near Tioga Road.
Gaylor Lakes Trailhead and Parking
The Gaylor Lakes hike in Yosemite National Park starts near the Tioga Pass Entrance. There’s a small parking lot immediately to the right as you enter through the Tioga Pass Entrance – the trailhead is located here.
📍 Google Maps Location: Gaylor Lakes Trailhead
🅿️ Trailhead Parking: The trailhead parking lot is located immediately to the right as you enter through the Tioga Pass Entrance. It’s a small lot with limited spots, so it can fill up despite the Gaylor Lakes hike not being too popular. It’s also shared with those hiking to Mount Dana.
🗺️ Distance to Trailhead: The Gaylor Lakes Trailhead is located 8.2 miles (13.2 km) east of Tuolumne Meadows Visitor Center. The trailhead sits 200 feet (61 meters) from the Tioga Pass Entrance and 54 miles (87 km) from the Big Oak Flat Entrance.
🚗 Parking Tips: Although this hike is not very popular, the parking lot is small and can fill up. My husband and I have hiked to Gaylor Lakes at different times and always find a parking spot, but sometimes we get one of the last few spots left. This parking lot is also shared with hikers heading to Mount Dana.
There is an overflow lot about 0.1 miles (0.2 km) south on Tioga Road. You can walk along a connector trail from the overflow lot to reach the trailhead.
🚻 Facilities: There are vault toilets and bear-proof lockers at the trailhead, but no drinking water.
🚌 Shuttle Option: There is no shuttle access to the Gaylor Lakes Trailhead.
Best Time to Hike the Gaylor Lakes Trail
🪻 Late June to Early July: Yosemite’s high country begins to come back to life with wildflowers starting to bloom and snowmelt filling streams and lakes. Snowbanks may still block parts of the trail, especially near Upper Gaylor Lake and the route to the Great Sierra Mine. Tioga Road may still be closed during this time, so check road conditions before heading out!
☀️ Mid-July to August: These months are the most popular for hiking due to warm weather and clear trail conditions. Expect more crowds, especially on weekends. And be aware of afternoon summer thunderstorms!
⚠️ Always check the weather forecast before heading out.
🍂 September to Early October: This is an ideal time for those seeking fewer crowds (as compared to peak summer crowds) and cooler temperatures. The weather is generally dry, and the crisp fall air makes for excellent hiking conditions. However, be prepared for cooler mornings and evenings, and always check for early snowstorms in late September and October.
🌨️ November to May: Tioga Road will be closed during this period due to snow. There is a chance it could be open in November and May (on rare occasions even in December) – check road conditions HERE.
I have zero experience exploring Tioga Pass and Tuolumne Meadows in winter, so I’m going to leave that for the experts. If you have the knowledge, skills, and experience then you do you. Always be smart and safe!
❄️ Yosemite National Park Winter Guides
- Ultimate Guide to Visiting Yosemite in Winter
- The Only Yosemite Winter Itinerary You Need!
- Where to Stay in Yosemite in Winter: 15+ Best Lodges, Hotels, and Cozy Cabins
- The Ultimate Yosemite Winter Packing List
- 20 Best Yosemite Hikes in Winter (Guide to Snowy Adventures)
- 18 Best Yosemite Winter Activities You Can’t Miss!
- Yosemite Firefall: A Complete First-Timer’s Guide
- Beginner’s Guide to Visiting Mariposa Grove in Winter
Hiking the Gaylor Lakes Trail: Step-by-Step Directions
Gaylor Lakes Trail
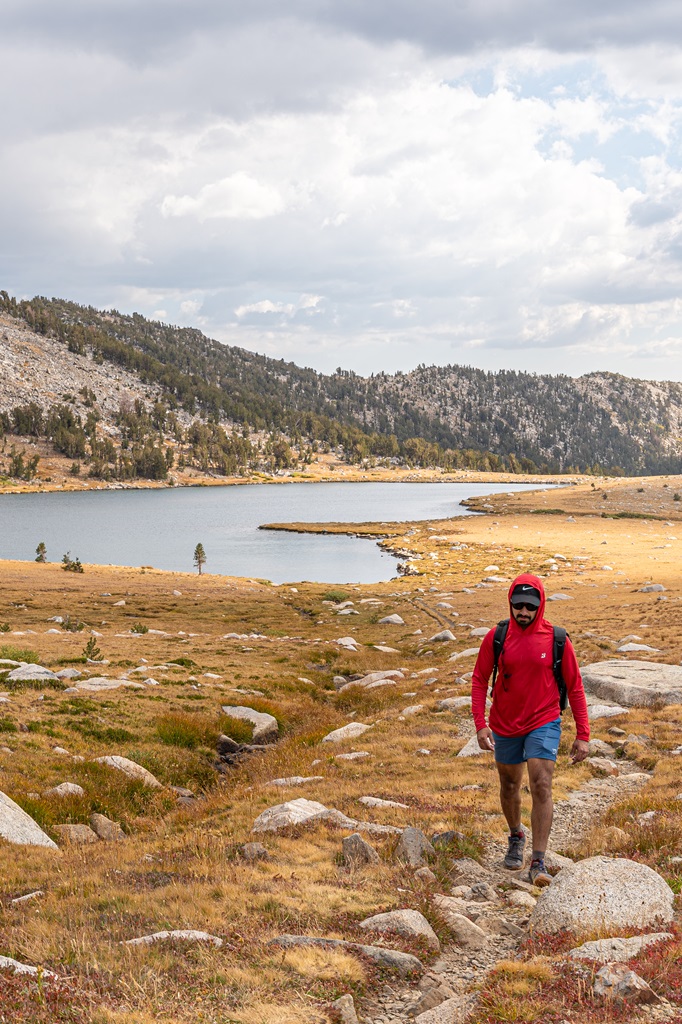
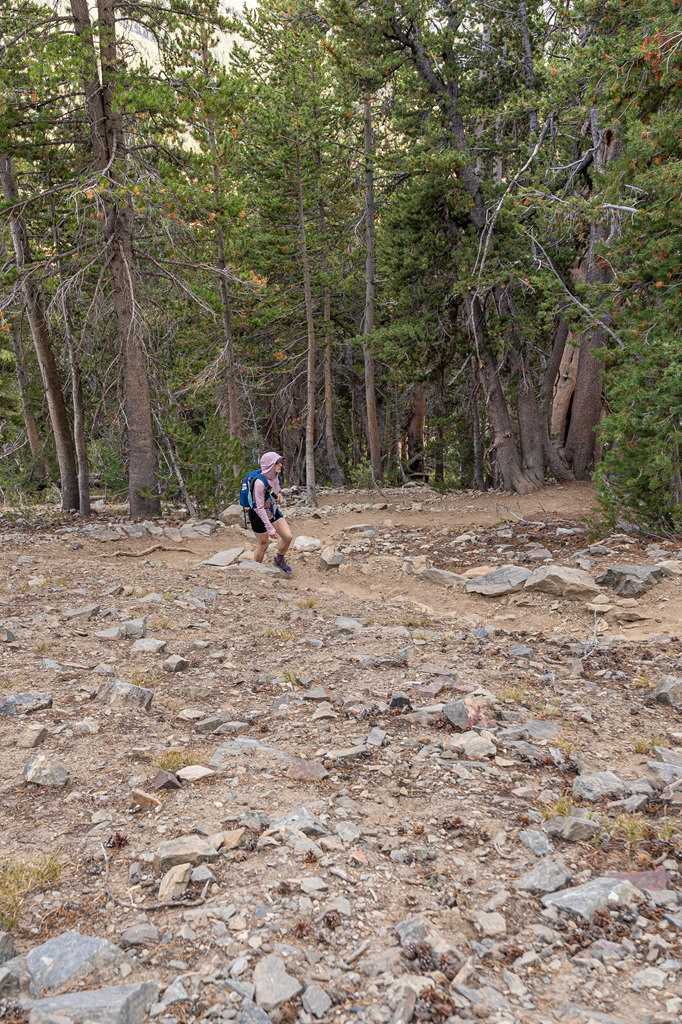
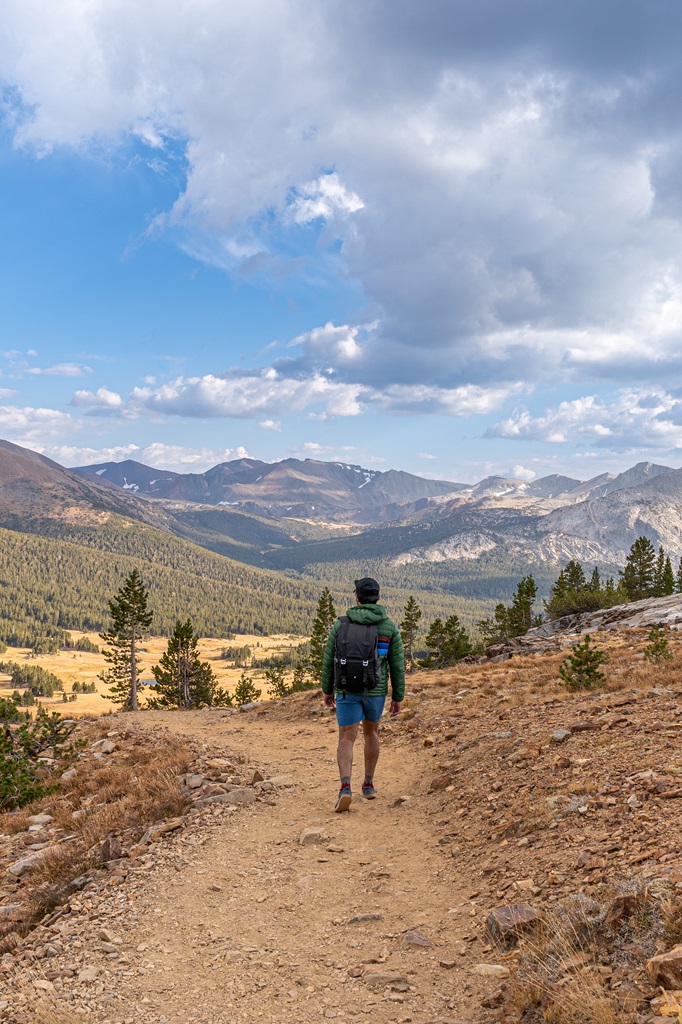
Starting at 9,950 feet in elevation, the Gaylor Lakes Trail begins with a steep ascent. The initial climb features a series of switchbacks where you will gain nearly 600 feet of elevation in 0.5 miles (0.8 km). It’s a tough start especially if you’re not acclimated to the high elevation yet.
At the top of the ridge, you will be rewarded with breathtaking views of Dana Meadows and the surrounding Sierra Nevada peaks, including Mount Dana, Mammoth Peak, and Mount Gibbs.
Middle Gaylor Lake
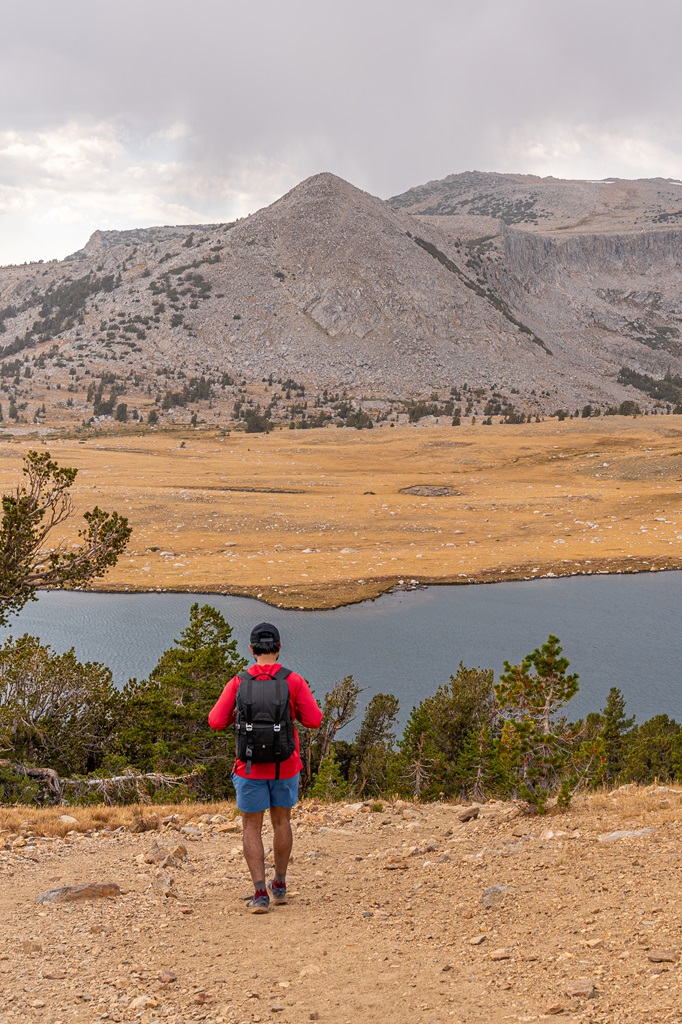
As you follow the trail over the ridge you will catch the first glimpse of Middle Gaylor Lake. The descent to the lake is brief but steep. This lake sits at 10,335 feet in elevation.
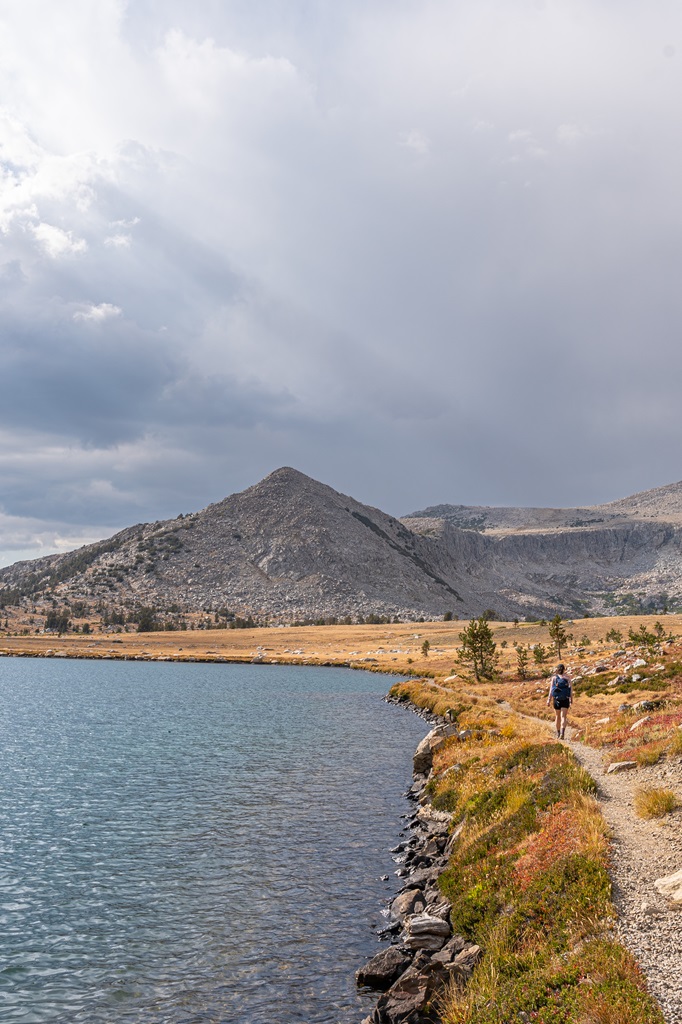
Once you reach the bottom of the hill, take a left and follow the trail around the lake. You’ll thank me later. Hiking around the lake offers incredible views which various angles of the Sierra peaks.
If you only plan to hike to Middle Gaylor Lake, then retrace your steps back to the trailhead. Hiking to Middle Gaylor Lake and back is just 2 miles (3.2 km) roundtrip, but if you hike around the lake then it’ll be about 2.5 miles (4 km) roundtrip.
Upper Gaylor Lake
If you have more energy and time, I highly recommend visiting Upper Gaylor Lake as well. It’ll only add another 1 mile (1.6 km) to the total hike.
To reach Upper Gaylor Lake, head north along the Gaylor Lakes Trail. This next section involves a mild ascent of nearly 0.5 miles (0.8 km) through open, mostly treeless terrain. Look back behind you as you climb higher and higher for incredible views of the alpine landscape.
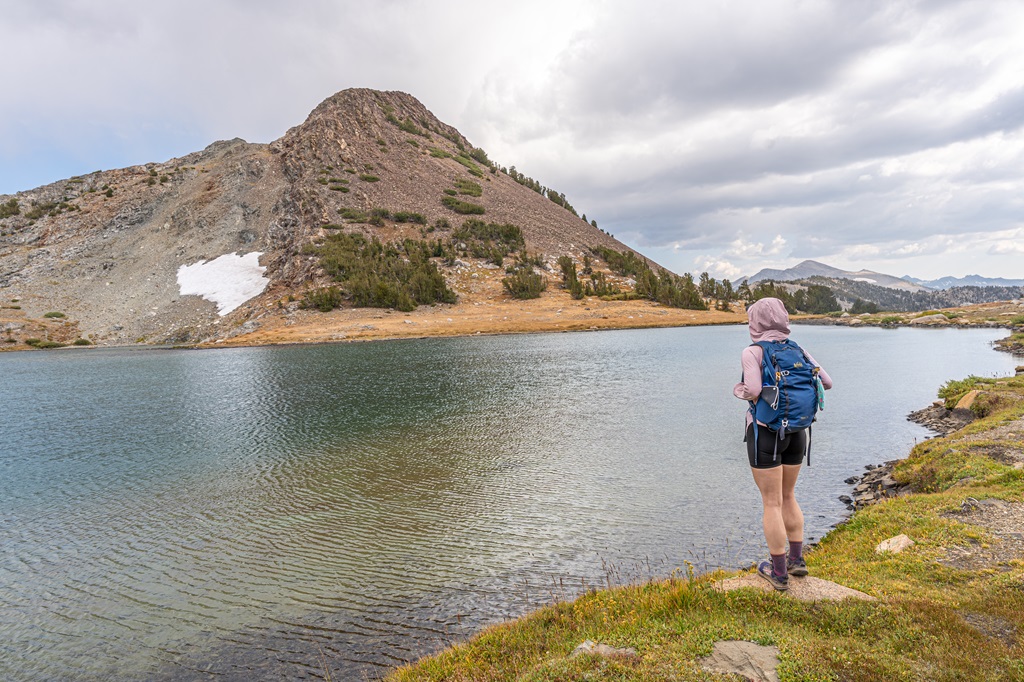
Upper Gaylor Lake feels more secluded than the middle lake. This is a great spot to see Gaylor Peak, rising 11,004 feet, towering majestically above the upper lake.
If you only came to see the two lakes, then retrace your steps to return to the trailhead. This route will be able 3 to 3.5 miles (4.8 to 5.6 km) roundtrip.
Great Sierra Mine
If you enjoy history and old structures, then continue along the trail to an old mining site! The ridge ahead of Upper Gaylor Lake contains traces of silver that attracted prospectors in the late 19th century, leading to the establishment of a small mining operation.
Though short-lived, operating from 1881 to 1884 with minimal production, the Great Sierra Mine remains a fascinating relic of Yosemite’s mining history.
The trail continues to the left of Upper Gaylor Lake and heads up the mountain for a bit more elevation gain. You’re almost at 11,000 feet so take it slow and listen to your body if you’re not acclimated.
As you climb higher you will see stunning views of Gaylor Peak, Upper and Middle Gaylor Lakes, and the distant summits of Mount Dana and Mammoth Peak.
About 0.3 miles (0.5 km) from Upper Gaylor Lake, the first remnants of the mine become visible. The site includes the crumbling remains of several stone structures and a mine entrance.
The mine entrance is not blocked off, so with that being said, don’t get near it! It’s a vertical drop to who knows where. That sounds like a terrifying situation I wouldn’t want to be in.
Beyond the mine, the trail officially ends at the unmarked park boundary. From here you can retrace your steps back to return to the trailhead.
Congrats, you did it! 🥳
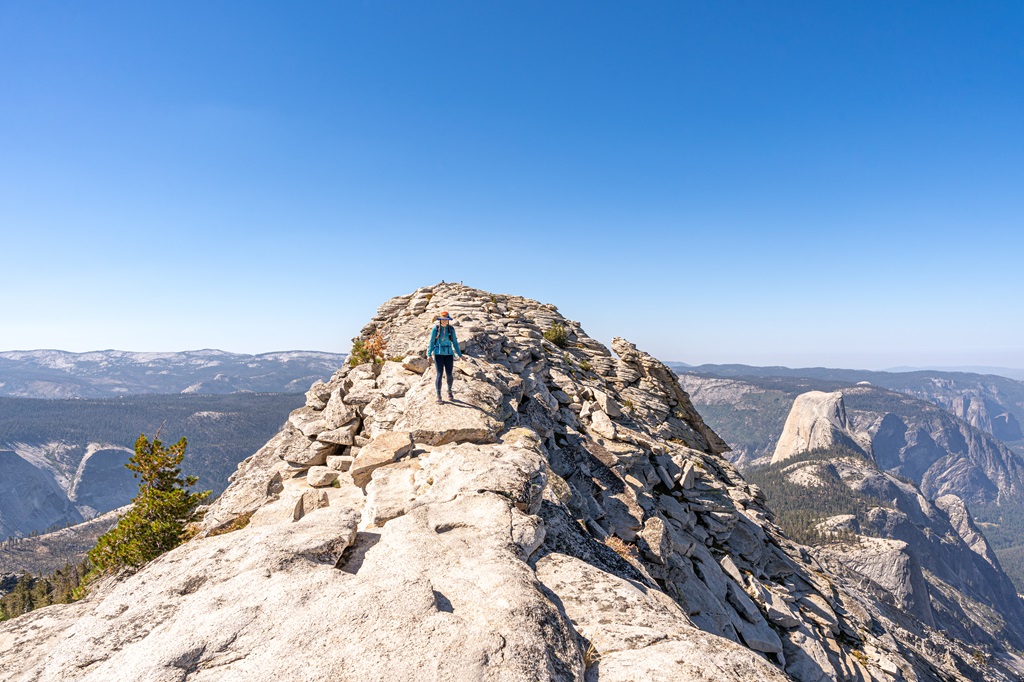
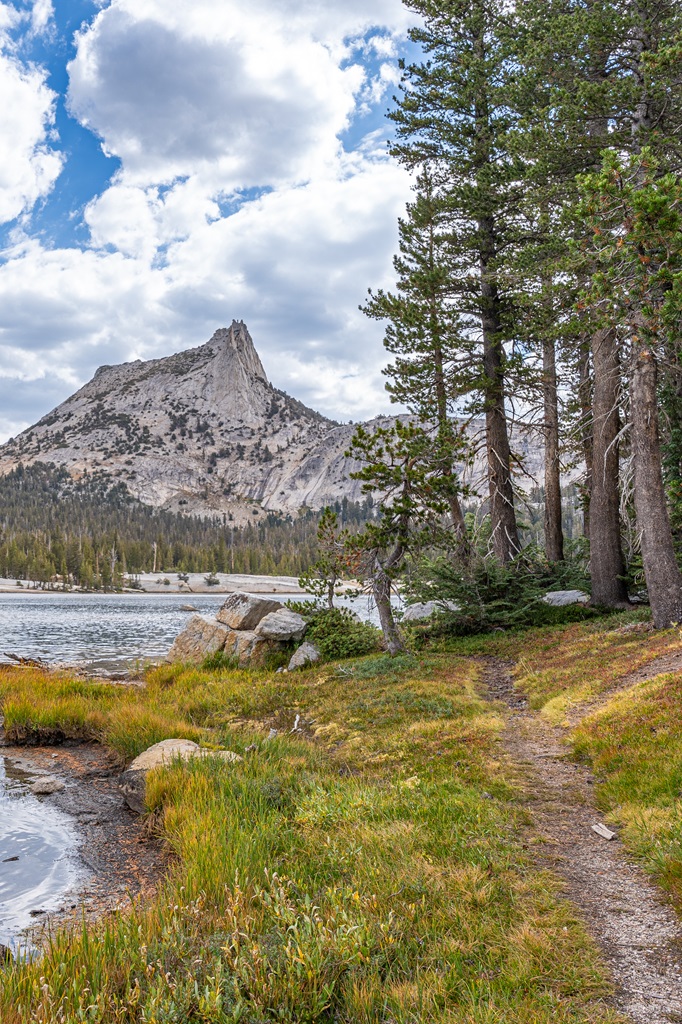
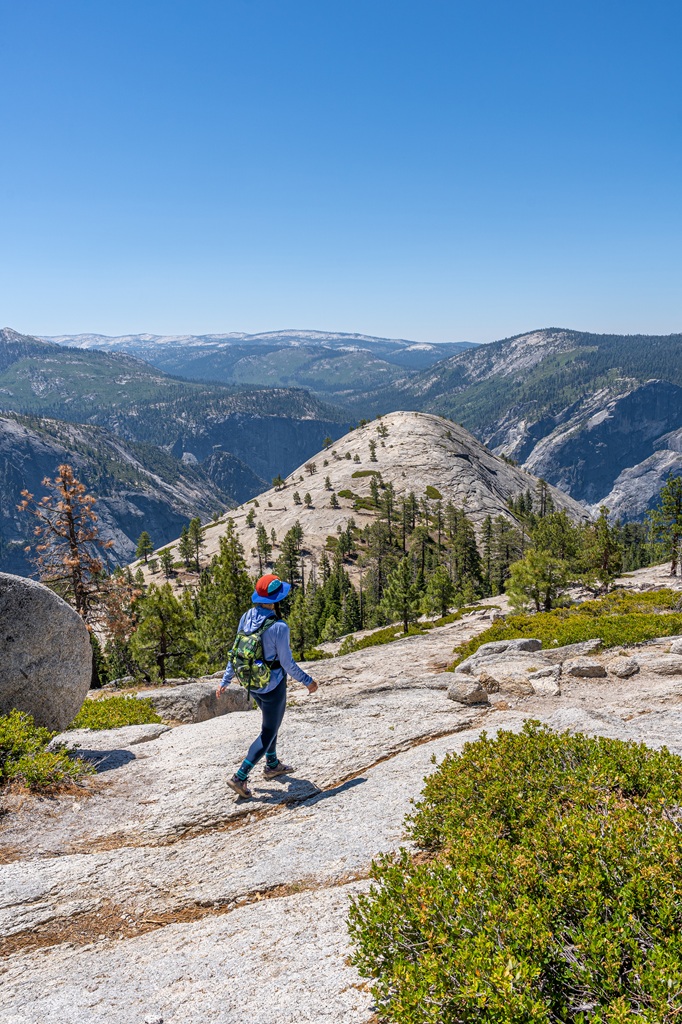
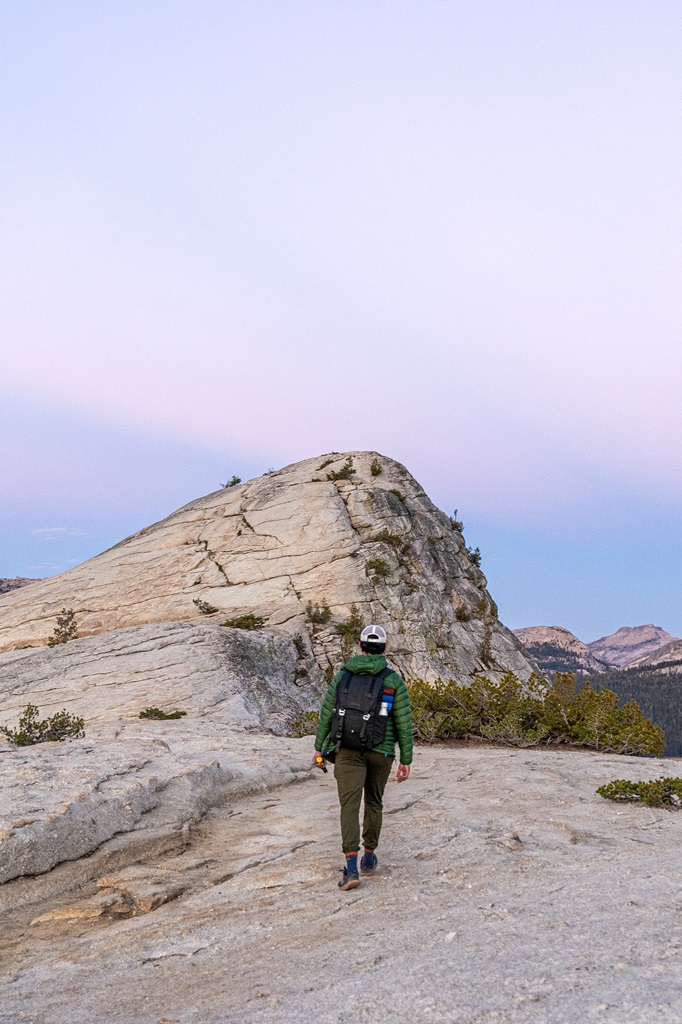
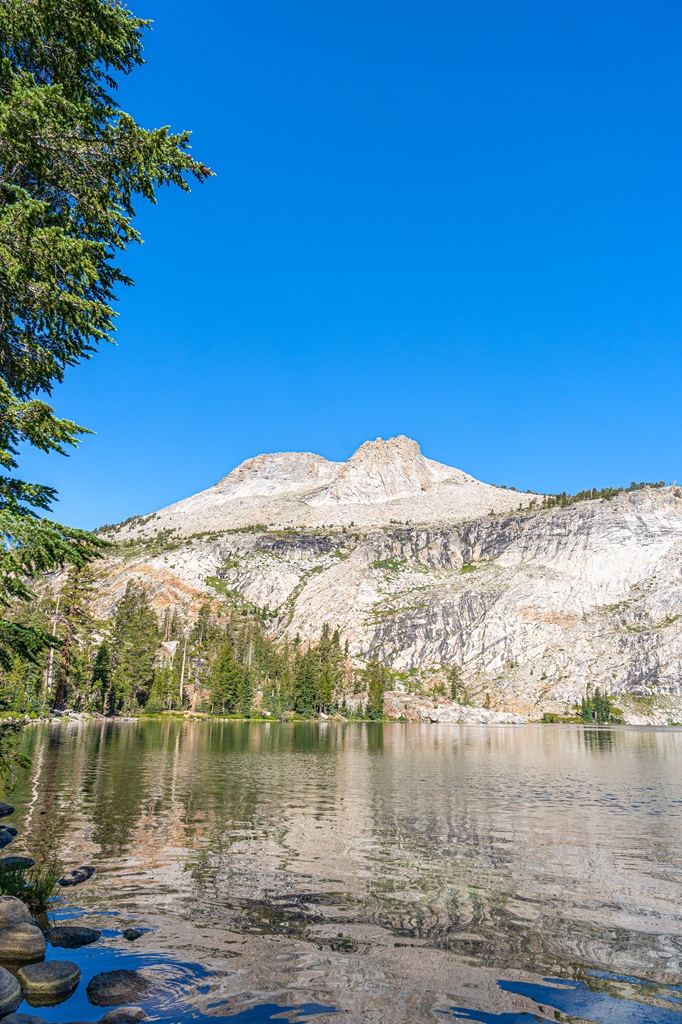
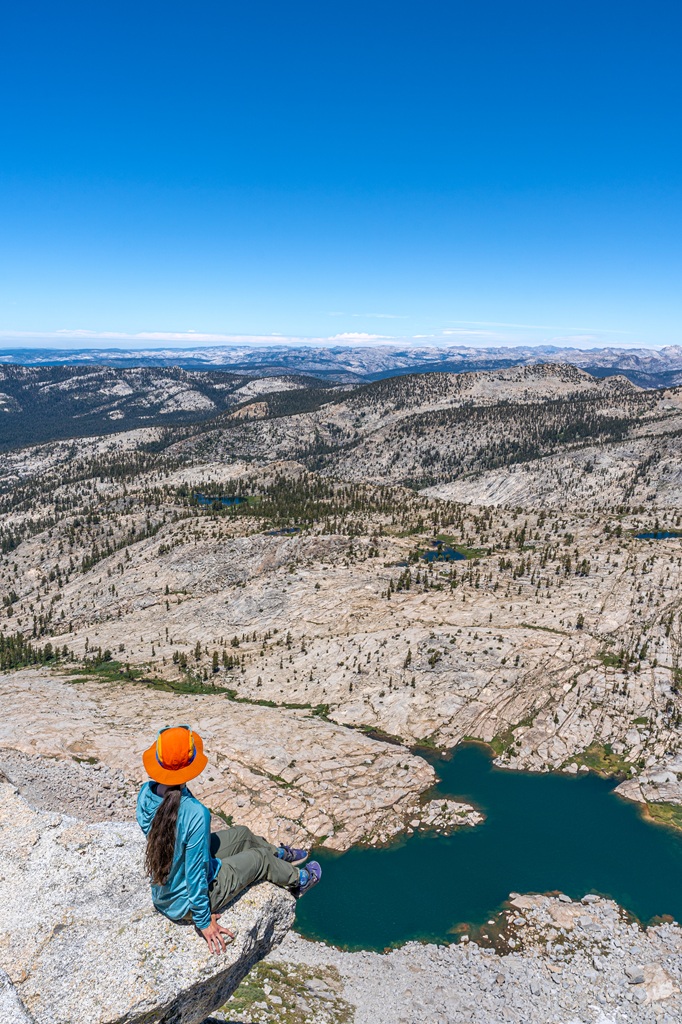
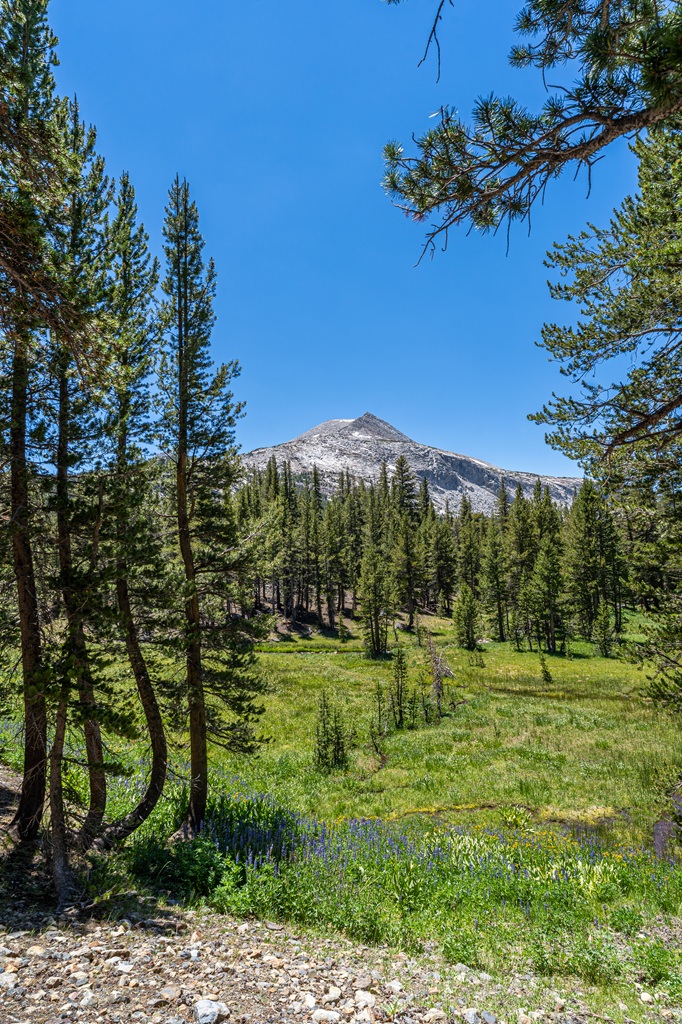
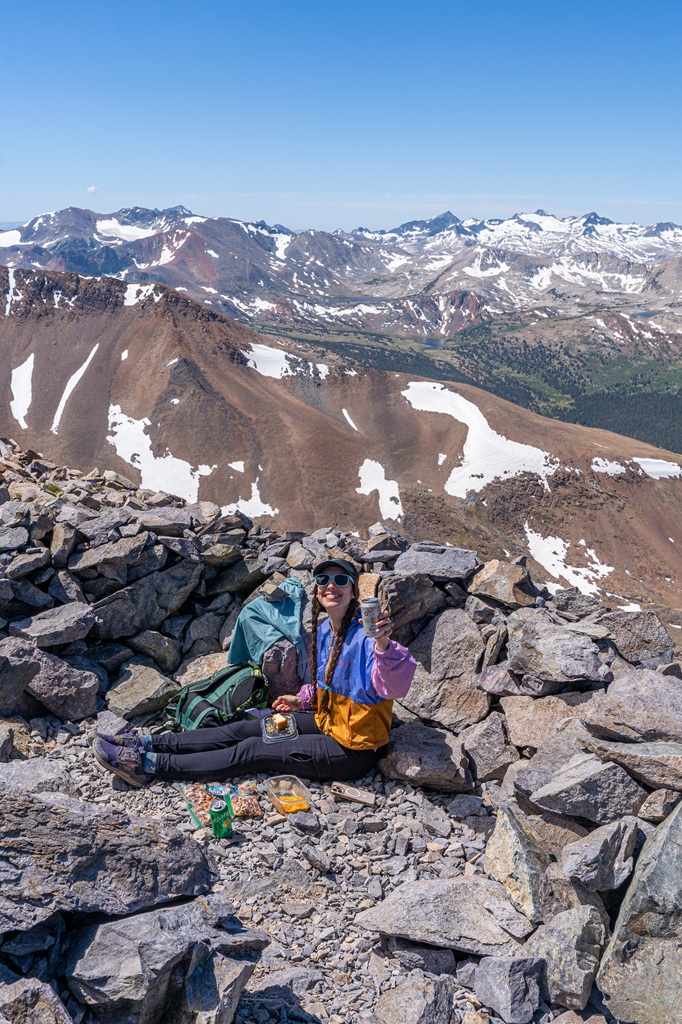
🥾 Explore more of Tuolumne Meadows and Tioga Pass with these hikes!
Hiking to Lower Gaylor Lake in Yosemite National Park
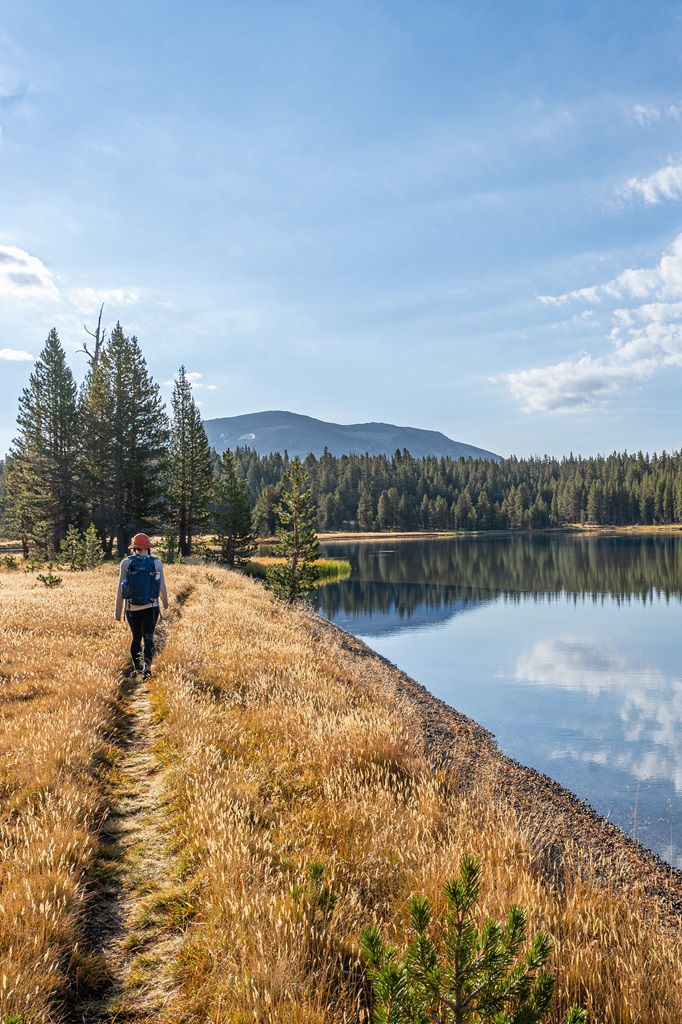
Lower Gaylor Lake sits at 10,050 feet in elevation and offers incredible views of the surrounding alpine landscape and Sierra peaks.
I personally have not hiked to the Lower Gaylor Lake yet. It’s not nearly as popular as the Middle and Upper Gaylor Lakes. It’s on my bucket list but haven’t gotten around to it yet.
Also, the parking situation is a bit weird – there’s not really a good spot to park directly at the trailhead so that has deterred me away for now. But apparently there’s several roadside pullouts nearby where you can park and walk to reach the trailhead.
One day I’ll do this hike and report back. For now, here are the trail stats along with a few important details if you plan to hike this trail.
🥾 Lower Gaylor Lake Trail Stats
Length: 4.7 miles (7.6 km) roundtrip
Elevation Gain: 850 feet
Difficulty: Moderately challenging
Hiking Time: 2.5 to 3 hours
Route Type: Out-and-back
Pet-friendly? No
Wheelchair Accessible? No
Highlights: View of distant Sierra peaks and Lower Gaylor Lake
🅿️ Lower Gaylor Lake Trailhead and Parking
The Lower Gaylor Lake Trailhead is just over 4 miles (6.4 km) west of the Tioga Pass Entrance and about 3 miles (4.8 km) east of the Tuolumne Meadows Visitor Center.
📍 Google Maps Location: Lower Gaylor Lake Trailhead
Like I mentioned above, the trailhead parking situation is tricky. There isn’t a good spot to park directly at the trailhead, but there are a few roadside pullouts nearby where you can park and walk to the trailhead.
You could also park at the Lembert Dome/Dog Lake Trailhead and hike about 2.5 miles (4 km) along a connector trail to the Lower Gaylor Lake Trailhead. This route will add about 5 miles (8 km) to your total hike.
🗺️ Lower Gaylor Lake Trail Map
Tips for Hiking Gaylor Lakes in Yosemite National Park
1. Download Offline Maps: Following the trails to reach all three lakes is easy, but having offline maps downloaded on your phone can give you peace of mind.
2. Start Early: Beat the crowds and enjoy cooler temperatures by starting your hike early in the morning, especially during peak season.
3. Acclimate to the Elevation: Middle Gaylor Lake sits at 10,335 feet at elevation, Upper Gaylor Lake sits at 10,500 feet, Lower Gaylor Lake is at 10,050 feet, and the Great Sierra Mine is at 11,000 feet. This high altitude can make the hike significantly more challenging.
Take time to acclimate if you’re not used to hiking at high elevations. Altitude sickness is a serious risk that can be avoided if properly acclimated. Pay attention to your body, stay hydrated, and take breaks as needed.
4. Be Bear Aware: Black bears are active within Yosemite. Follow these guidelines to avoid any negative interactions with a black bear.
🐻 Note: Bear spray is prohibited in Yosemite National Park!
5. Respect Nature: Follow Leave No Trace principles – plan ahead, pack out all trash, avoid disturbing wildlife, be considerate of others, and respect the natural beauty of Yosemite National Park.
What to Bring to Yosemite National Park
🎟️ Entrance Pass – You will need to purchase an entrance pass once you reach the entrance station or you can buy the America the Beautiful Pass ahead of time and use that for the entire year.
👚 Layers of Clothing (top) – Pack a moisture-wicking base layer, a fleece mid-layer, an insulated jacket, and an outer shell to protect you from the elements, such as rain and wind. You may not need all these layers, especially in the summer months, but it’s always best to be over-prepared!
Check out my favorite tops 👇
- Base layer: REI Co-op Sahara Shade Hoodie (warm/mild conditions) and REI Co-op Midweight Long-Sleeve Base Layer (cooler conditions)
- Fleece mid layer: Cotopaxi Teca Fleece Full-Zip Jacket
- Down mid layer: Cotopaxi Fuego Hooded Down Jacket
- Outer shell: In the summer I always pack a light windbreaker, such as the Cotopaxi Teca Crop Windbreaker or the RevolutionRace Unit Light Windbreaker. Make sure to also pack a waterproof rain jacket – I like the Patagonia Torrentshell 3L Jacket.
🩳 Hiking Shorts or Pants – Pack a comfortable, durable, and stretchy pair of hiking shorts or pants. Also think about what conditions you might run into, such as warm or cold temperatures, wind and/or rain, bugs, and overgrown trails.
Check out my favorite hiking bottoms 👇
- Cotopaxi Losdos Zip-Off Pants
- RevolutionRace Breezy Ankle Outdoor Pants
- Baleaf Fleece-Lined Jogger Pants
- RevolutionRace Summit Pocket Tights
- Revolution Race Hike & Dive Shorts
🥾 Hiking Footwear – Bring a good pair of hiking boots or shoes with good traction. If I’m not expecting to hike in too much mud or snow, my go-to hiking shoes are the Altra Lone Peak trail runners. They have a wide-toe box, 0 mm heel-to-toe drop, and MaxTrac rubber outsole. Plus, they’re lightweight and so comfy!
🧦 Socks – Moisture-wicking, quick-drying socks are the way to go. My favorite pair of hiking socks are Darn Tough Hiker Micro Crew Cushion Socks. Always pack an extra pair!
🎒 Day Pack – What you plan to do (sightseeing, hiking, etc.), determines what size pack you’ll need. Here is what I typically bring based on what I’m doing that day 👇
- Short walks and sightseeing: Cotopaxi Kapai 1.5L Del Dia Hip Pack
- Short, easy to moderate day hikes: REI Co-op Flash 22L Pack
- Long, moderate to challenging day hikes: REI Co-op Trail 25L Pack or Cotopaxi Luzon Del Dia 24L Pack
🥢 Trekking Poles – Essential for stability, balance, and support when hiking trails, especially on tough, rocky, and uneven terrain. I use REI Co-op Trailmade Trekking Poles and love them!
❄️ Microspikes – Bring a pair of microspikes if you’re visiting in the winter and you’re planning to hike along icy trails. They will give you good traction to avoid slipping! I use Black Diamond Access Spike Traction Device.
🦟 Mosquito/Bug Repellants – In the warmer months, be prepared for annoying gnats, mosquitoes, and flies. Wear long-sleeve clothing, a head net, and use bug spray.
🧤 Extra Warm Layers – If you expect cooler conditions or hiking to higher elevations, make sure to pack extra layers for added warmth, such as gloves, beanie, neck gaiter, and a light jacket.
🗺️ Navigation – Carry a physical topographic map, compass, a satellite messenger (or personal locator beacon), and download offline maps to help you stay on course, find your way in unfamiliar terrain, and call for help if needed.
🔦 Headlamp/Flashlight – A reliable light source with extra batteries, in case you end up hiking in the dark or need it for emergency situations.
💧 Water – Water bottles to carry sufficient water to stay hydrated, along with a filtration system or purification tablets if you plan to refill from natural sources.
🍕 Food – Energy-rich snacks or meals to keep your energy levels up during the hike.
😎 Sun Protection – Sunscreen, sunglasses, and a sunhat to protect yourself from harmful UV rays, even when it’s cloudy. Also, polarized sunglasses are important when it’s bright outside and to reduce glare from reflective surfaces like water, snow, and roads.
🩹 First-Aid Kit – A basic first-aid kit with items like bandages, antiseptic, pain relievers, and any personal medications you may need.
🥶 Emergency Shelter – Pack an emergency bivy sack or space blanket for shelter in case of sudden weather changes.
🔥 Fire – A lighter, matches, or fire starter to help you build a fire for warmth or signaling in case of emergency. Along with matches, I also carry a multi-tool carabiner that has a fire starter, utility blade, screwdriver, and bottle opener.
🗡️ Multi-Tool and Repair Kit – A versatile tool/knife and repair kit to handle any task, from preparing food to making repairs.
💩 Waste Disposal Supplies – WAG bags, trowel, toilet paper, pee cloth, wipes, Ziploc bags – be sure to pack out everything!
Conclusion
If there’s one hike you need to add to your Tioga Pass itinerary, it’s this one! It’s so underrated, which is probably a good thing. I would never geotag this spot on social media, but those taking the time to research and read blog posts are probably the ones who will respect it.
The Gaylor Lakes Trail takes you to two serene lakes as well as a historical mine. I have hiked this trail many times and it will never, ever get old. I love this area so much, especially when the grass is green, the wildflowers are blooming, and the wildlife is out and about.
And let’s not forget about Lower Gaylor Lake! She deserves some love, too. 🫶
If this guide inspires you to hike to Gaylor Lakes in Yosemite National Park, I’d love to hear about your adventure. Leave a comment and share your experience!
🤩 Yosemite National Park Travel Guides
- 1-Day Yosemite Itinerary for First-Time Visitors
- Where to Stay Outside of Yosemite (best places in 2026)
- 13 Best Hikes in Yosemite Valley You Can’t Miss!
- Fresno to Yosemite Day Trip: Itinerary for Every Season
- First Timer’s Guide to Glacier Point Road in Yosemite
- Best Spots to Find Giant Sequoia Trees in Yosemite
- 10 Must-Do Easy Hikes in Yosemite for All Skill Levels
- Hetch Hetchy Hikes: Explore This Hidden Gem
- 20 Best Yosemite Waterfalls You Can’t Miss!
- Ultimate Guide to Visiting Yosemite in May
- Is Tioga Pass Open? Plan an Epic Trip with This Guide
- 13 Best Tioga Pass Hikes for Adventure Lovers
- 20 Best Things to Do in Tuolumne Meadows and Tioga Pass in Yosemite
📌 Enjoyed this post? Pin for later!
🏞️ Explore more incredible places in California!